

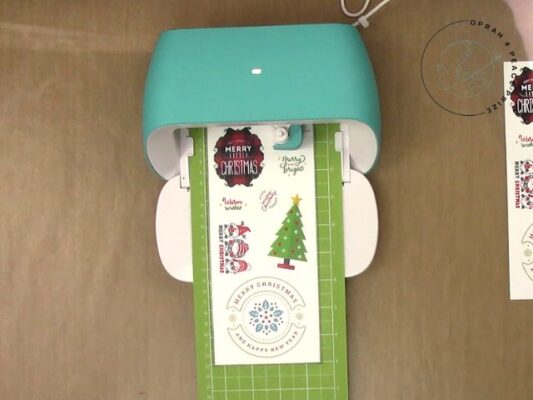
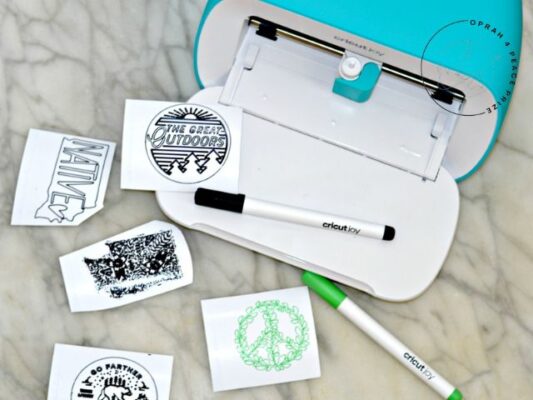
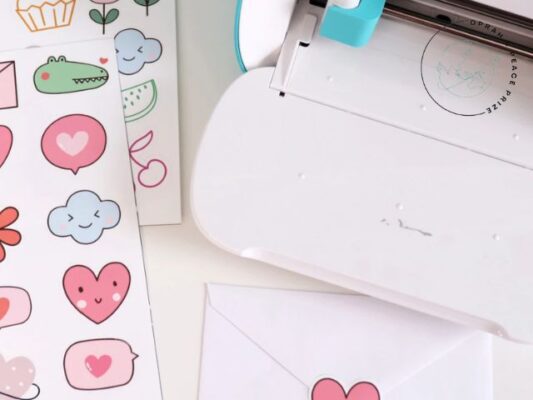
Welcome to the realm of efficient crafting where precision meets versatility! In this guide, we’ll embark on an exciting journey of seamlessly cutting Cricut images use your Silhouette machine. While the Cricut is renowned for its intricate designs, the Silhouette brings its own set of capabilities to the table, offering a streamlined and efficient crafting experience. Join us as we explore how to leverage the power of your Silhouette to achieve flawless cuts on Cricut designs, opening up a world of endless possibilities for your creative projects. Whether you’re a seasoned crafter looking to streamline your process or a novice eager to explore new crafting techniques, this guide is your gateway to efficient Cricut cuts with the help of your trusty Silhouette machine. Let’s dive in and discover the magic of this crafting fusion together!
Contents
Use Your Silhouette Efficiency: Cutting Cricut Images Seamlessly
As of my last update in January 2022, the Silhouette and Cricut are two different brands of cutting machines, each with its own proprietary software and image formats. While they serve similar purposes, they typically do not directly support each other’s image formats.

However, it is still possible to use images from Cricut in Silhouette Studio, although it might require a few extra steps. Here’s a general guide on how you might accomplish this:
Export Image from Cricut Design Space
If you have an image or design in Cricut Design Space that you want to use with your Silhouette machine, you can export it as an SVG file. SVG (Scalable Vector Graphics) files are compatible with Silhouette Studio.
Save the SVG File
Once you’ve exported the image from Cricut Design Space, save the SVG file to your computer in a location where you can easily find it.
Open Silhouette Studio
Launch the Silhouette Studio software on your computer.
Import the SVG File
In Silhouette Studio, go to the “File” menu and select “Open.” Navigate to the location where you saved the SVG file from Cricut Design Space and select it. Click “Open” to import the SVG file into Silhouette Studio.
Adjust and Prepare the Design
Once imported, you can adjust the size, orientation, and other settings of the design as needed using the tools in Silhouette Studio.
Send the Design to Your Silhouette Machine
Once you’re satisfied with the design, you can send it to your Silhouette cutting machine for cutting. Make sure your Silhouette machine is connected to your computer and properly set up for cutting.
Cut the Design
Follow the instructions provided by Silhouette Studio to cut the design using your Silhouette machine. Make sure you have the appropriate materials loaded into the machine and that the blade is properly adjusted for cutting.
By following these steps, you should be able to use images from Cricut Design Space with your Silhouette cutting machine. Keep in mind that there may be some limitations or differences in functionality between the two software platforms, so you may need to adjust your workflow accordingly.
Conclusion
In summary, harnessing the efficiency of your Silhouette machine for cutting Cricut images seamlessly enhances your crafting experience. From setup to execution, this guide has equipped you with the tools and knowledge needed to streamline your creative process. With precision and ease, your Silhouette opens doors to endless possibilities, allowing you to craft with confidence and joy. Cheers to the seamless fusion of technology and creativity in your crafting endeavors!
Related Post
From Concept to Creation 3D Printed Embossing Plates
Customize and Print Turning SVGs into 3D Printed
7 Anime Room Decor Ideas to Beautify Your Room