
Artboards serve as the blank canvases in Illustrator, providing the space where every design comes to life. They can be likened to sheets of paper stacked on top of one another, offering a versatile foundation for creative work. Knowing how to add artboards in Illustrator is crucial for efficient design.
Upon initiating a new document in Illustrator, a single artboard of standard size is provided by default. However, there are scenarios where working on multiple designs concurrently or creating designs for print with unique dimensions becomes necessary.
To enhance the organization of your design process, Illustrator permits the division of the workspace into multiple artboards, each exclusively containing the image being worked on. Notably, any artwork outside these artboards will not be present in the final export. This feature proves invaluable for managing diverse design elements seamlessly.
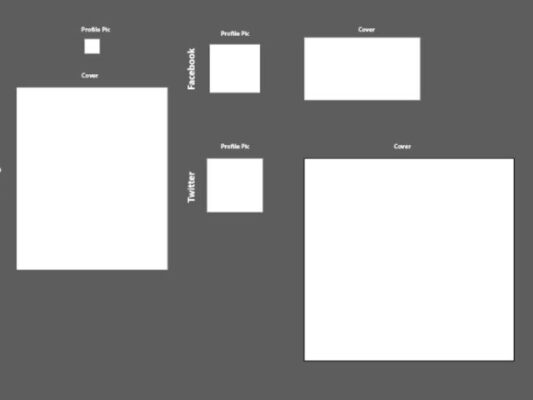
“You can use it to create multiple artworks for different purposes. Learning how to add artboards in Illustrator can come in handy if you want to create social media posts, posters, web templates, blog layouts, and even other projects like business cards.” – FMC
Contents
Step-by-step Guide On How To Add Artboards In Illustrator
Step 1: Creating an Artboard
To initiate a new artboard, navigate to the menu and select File > New. Upon the appearance of the new document dialog box, opt for a standard paper size from the list or define a custom artboard size by entering specific dimensions. The dialog box allows the addition of multiple artboards according to your requirements.
Tip: In an existing open document, you can create a new artboard within the project by accessing the Artboards panel and clicking the New Artboard button located at the bottom.
Step 2: Artboard Addition
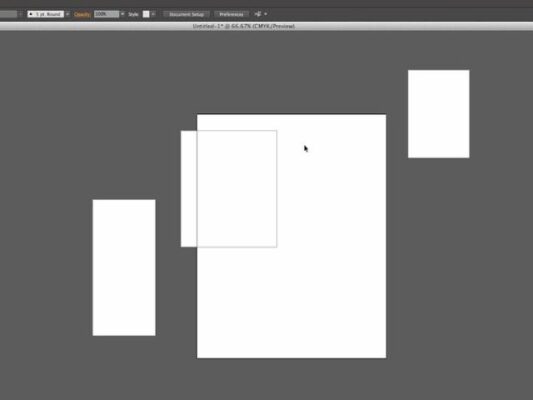
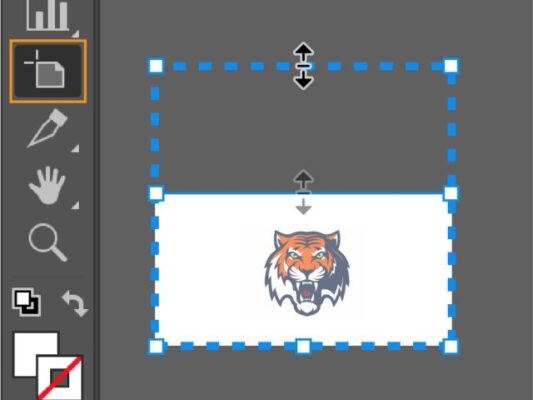
Choose the Artboard tool from the Tools panel or use the shortcut Shift + O. Drag a rectangle onto your artboard, releasing the mouse button when satisfied with the size of the new artboard.
Step 3: Height and Width Configuration
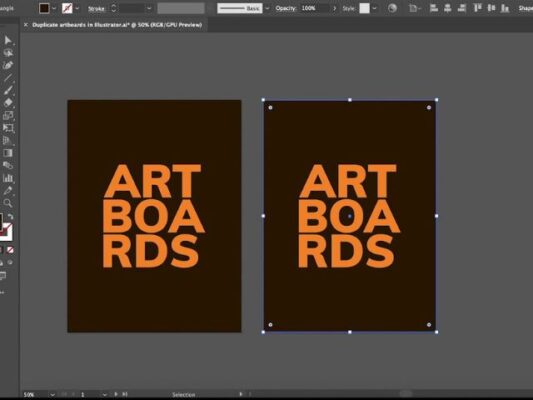
In the dialog box, opt for a preset or input custom height and width values. Within the Artboard Options dialog box, adjustments such as bleed modification and assigning a name to the artboard can be made. To replicate an artboard, copy the desired one (Ctrl + C), select the new artboard, and paste (Ctrl + V). This process can be repeated to add more artboards.
Step 4: Adjusting Artboard Size
The subsequent step in the process of adding artboards in Illustrator involves resizing them. Utilize the Artboard Tool, accessed by clicking and holding down on the Rectangle Tool in the Tools palette. Left-click on the artboard to be resized, then click and drag a corner to achieve the desired size.
“You can have multiple artboards per document depending on the size of your artboards. You can create, resize or remove them as you need to with the Artboard tool.”- Educative
Now you are equipped with the knowledge of adding and resizing artboards in Illustrator, you can tailor your workspace to meet your specific design needs.
Related posts