
If you’ve ever wondered how to seamlessly edit SVG files in Photoshop, you’re in for a treat. SVG (Scalable Vector Graphics) files offer a versatile format for graphics, and with Photoshop’s capabilities, you can take your editing skills to the next level. Let’s dive into a step-by-step guide on how to master the art of SVG file editing with Photoshop.
Contents
Step 1: Open SVG File in Photoshop
- Launch Photoshop on your computer.
- Select “File” > “Open” and choose the SVG file you want to edit.
Step 2: SVG Import Settings
Upon opening, Photoshop will prompt you with SVG import settings. Ensure that the settings align with your preferences. Pay attention to factors such as image size, resolution, and artboards.
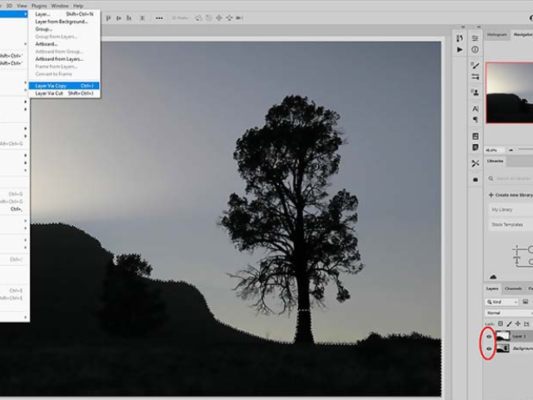
Step 3: Layers and Editing Tools
Once the SVG file is imported, you’ll find individual layers representing different elements of the design. Leverage Photoshop’s array of editing tools to modify colors, shapes, and text. The Layers panel becomes your playground for precise adjustments.
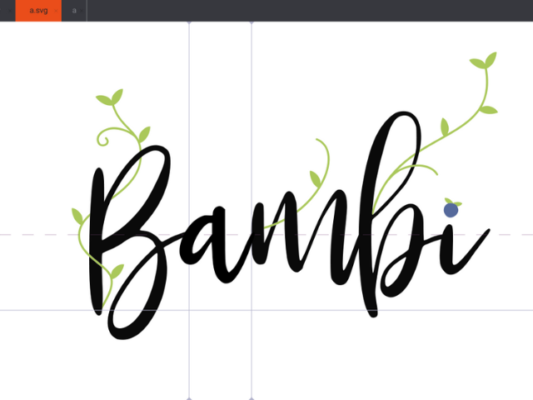
Step 4: Text Editing
To edit text within the SVG, select the Text tool and click on the text you want to modify. Adjust font, size, color, and other attributes to suit your design vision.
Step 5: Shape and Color Adjustments
Manipulate shapes by selecting the desired layer and using the transformation tools. Change colors effortlessly using the Color Picker or apply gradients for a more dynamic look.
Step 6: Exporting Edited SVG
After perfecting your design, save it by selecting “File” > “Save” or “Save As”. Ensure that you choose the SVG format to preserve its scalability and vector qualities.
Mastering SVG file editing in Photoshop opens a realm of creative possibilities. Experiment with different effects, overlays, and adjustments to craft a design that stands out. Photoshop’s intuitive interface, coupled with SVG’s flexibility makes for a powerful combination.